Assembly Builder Example
The following is a simple walkthrough of building an Assembly based on the NorthWind sample database.
- Connect to the server that you you wish work with.
- In the new window select the Northwind database and click view.
- The Assembly Builder button now becomes enabled. Click the button.
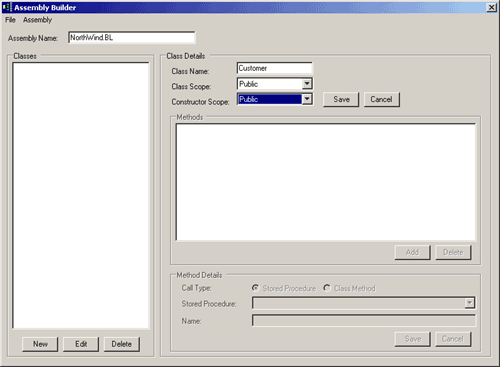
- The Assembly Builder window will open. Type 'NorthWind.BL' as the Assembly Name.
- Click 'New' in the Classes section.
- In the Class Details Section, type 'Customer' as the Class Name and set the Class Scope and Constructor Scope to 'Public'.

- Click 'Save'.
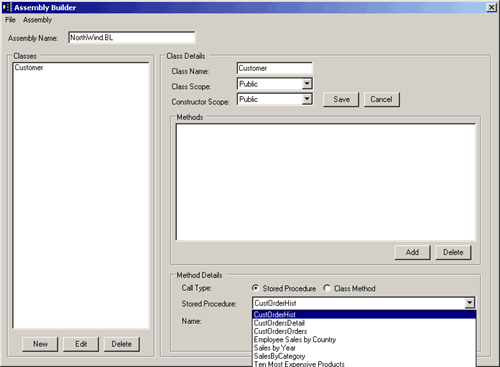
- In the Methods Section click 'Add'.
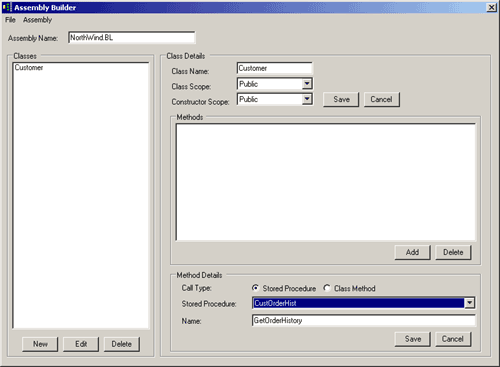
- The Method Details section now becomes enabled. Stored Procedures is the default Call Type. In the Stored Procedure drop-down select 'CustOrderList'.

- In the Name field type 'GetOrderHistory'. Click 'Save'.

- Repeat the prcoess of adding methods for 'CustOrdersOrders' and 'CustOrderDetails' .

- In the Classes click 'New'. A warning message will appear. Click 'Ok'. Create a new class called 'Sales'.
- Add the methods 'GetByYear', 'GetByCategory', and 'GetEmployeesByCountry' .
- Repeat step 12 to create a new class called 'Products'. Add the method 'GetTenMostExpensive'.
- It is now time to save the Assembly Builder project. Select File->Save Project. Give the project a name and click 'Save'. You can then revisit this project at any time by loading the project. However you must be viewing the same database as originally used or the project will not work.
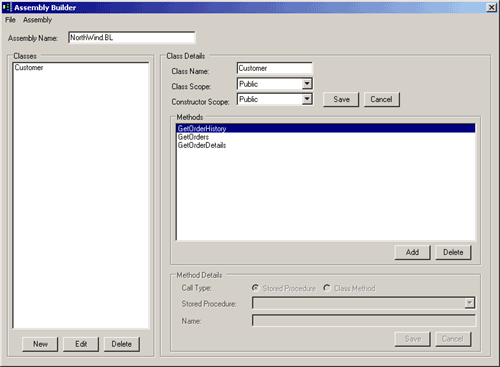
- The finished project should look as follows:

- Select Assembly->Generate. The Visual Studio Project and class files will then be generated in a folder under your DataAide Output directory.

I know that my choice of sample isn't very good code but it is something that can easily be reproduced.
You can view the code samples here.
The following downloads are available:
Last Updated: 21 July 2004.